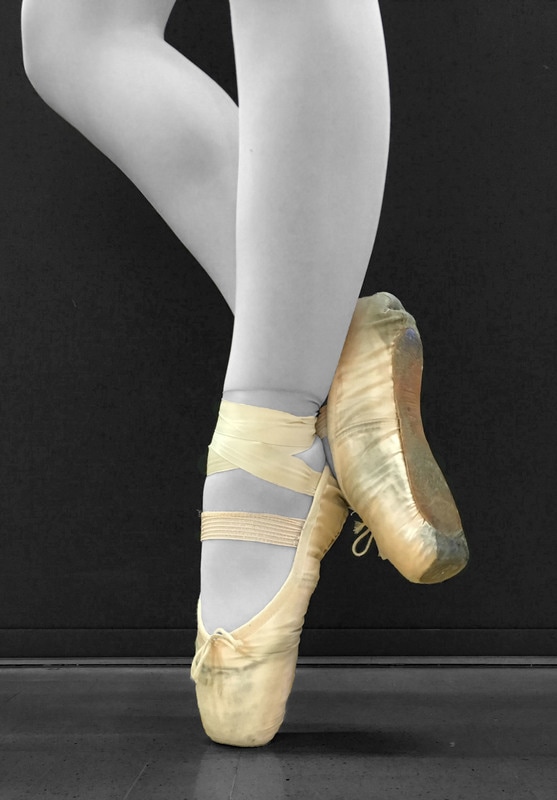
Using Photoshop, I cropped this image to make the pointe shoes closer. I then duplicated the layer and changed one to black and white and kept the other layer in the original colour. Putting the black and white layer on top, I used the eraser tool to erase the black and white in the pointe shoes.
Using Photoshop, I cropped the photograph slightly. I then duplicated the layer, I changed one layer to black and white and kept the other layer the same colour. Putting the black and white layer on top, I used the eraser tool and erased the black and white pointe shoes to get the original colour back. I then used the blur tool to slightly blur the rest of the photograph and then to make the pointe shoes stand out more I used the sharpen tool.
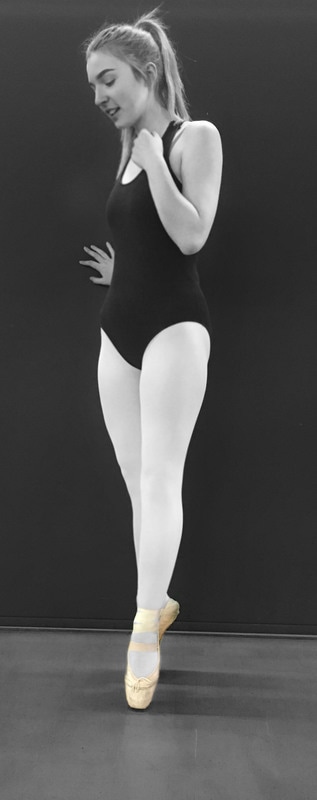
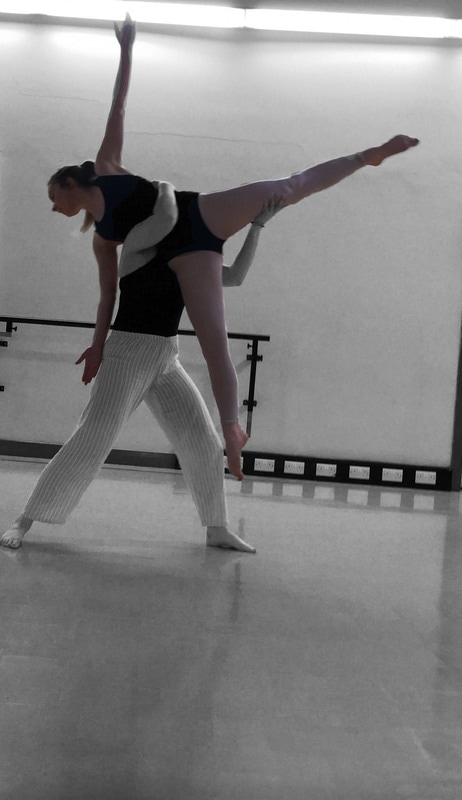
Again in Photoshop, I duplicated the layer and changed one to black and white and kept the other in the original colour. Using the eraser tool, I erased the black and white out of the dancer's skin, keeping the rest of the image and her body in black and white.
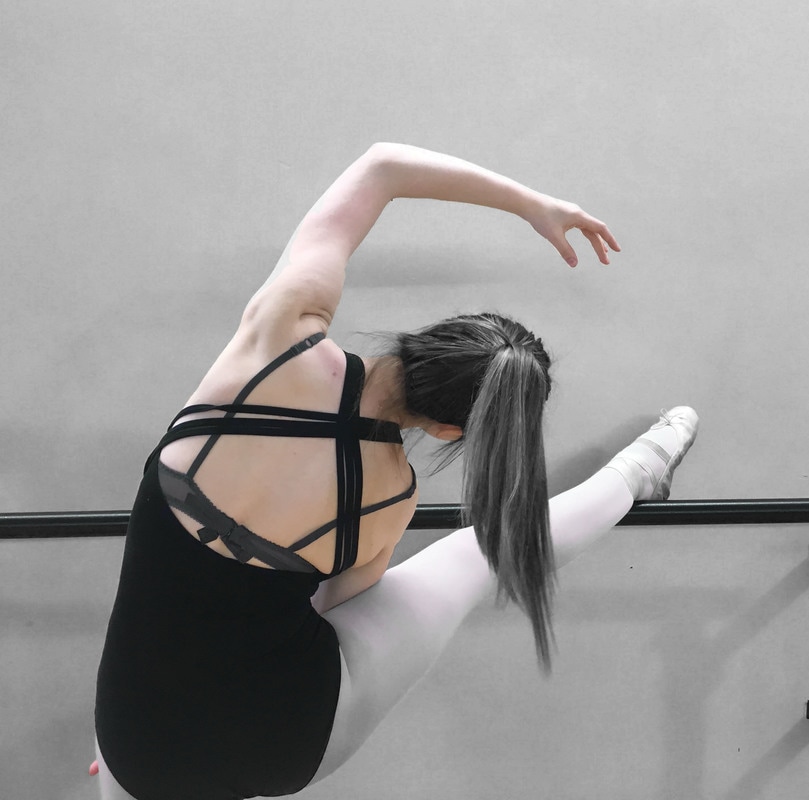
Using Photoshop, I duplicated the layer and changed one to black and white and kept the other layer in the original colour. Putting the black and white layer on top, I used the eraser tool to erase the black and white in the pointe shoes and the dancer's pants.
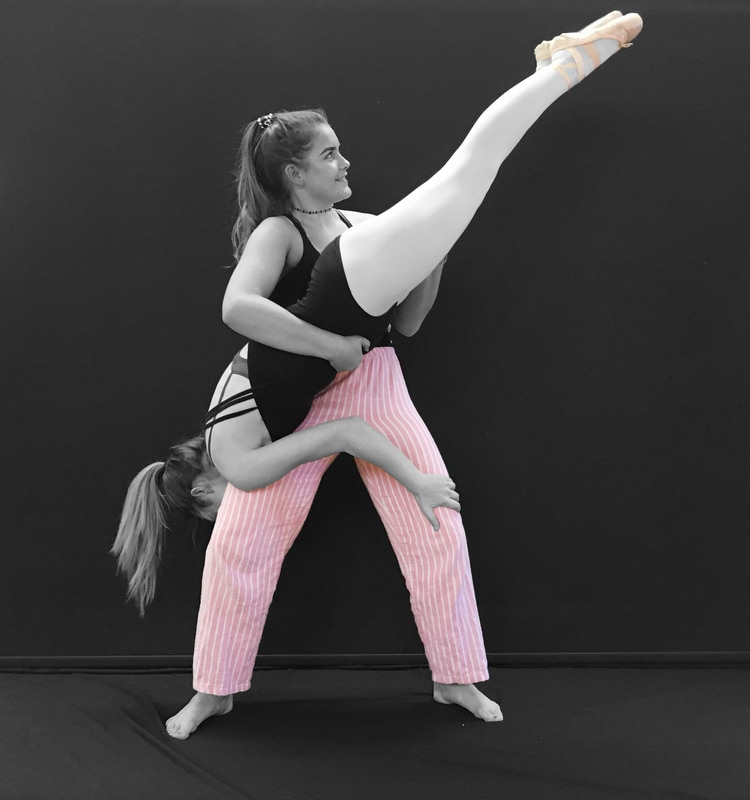
Using Photoshop, I cropped this image to make clearly capture the lift in which the dancers are doing but catching the light at the same time. I then duplicated the layer and changed one to black and white and kept the other layer in the original colour. Putting the black and white layer on top, I used the eraser tool to erase the dancer being lifted back to the original colour.
